Flutter로 개발하기(05) - 새로운 화면 열기
Navigate to a new screen and back
https://flutter.dev/docs/cookbook/navigation/navigation-basics
플러터에서는 화면이나 페이지를 Route라고 부릅니다. 안드로이드에서는 액티비티와 대응되고, iOS에서는 뷰컨트롤러와 대응됩니다. Route 또한 위젯입니다.
1. 두 Route 만들기
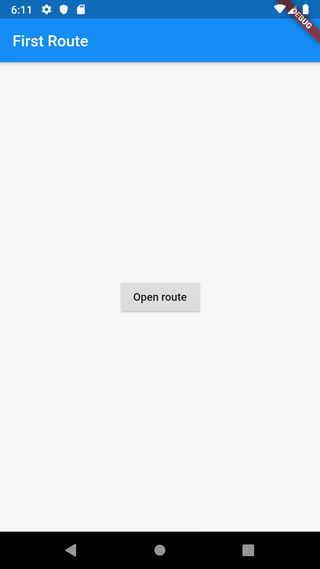
class FirstRoute extends StatelessWidget {
  @override
  Widget build(BuildContext context) {
    return Scaffold(
      appBar: AppBar(
        title: Text('First Route'),
      ),
      body: Center(
        child: RaisedButton(
          child: Text('Open route'),
          onPressed: () {
            // Navigate to second route when tapped.
          },
        ),
      ),
    );
  }
}

class SecondRoute extends StatelessWidget {
  @override
  Widget build(BuildContext context) {
    return Scaffold(
      appBar: AppBar(
        title: Text("Second Route"),
      ),
      body: Center(
        child: RaisedButton(
          onPressed: () {
            // Navigate back to first route when tapped.
          },
          child: Text('Go back!'),
        ),
      ),
    );
  }
}
2. 두 번째 Route로 이동하기
onPressed: () {
  Navigator.push(
    context,
    MaterialPageRoute(builder: (context) => SecondRoute()),
  );
},
push() 메소드는 Route를 Route 스택에 추가합니다. Route는 직접 만들 수도 있고, MaterialPageRoute를 사용해서 만들 쑤도 있습니다. MaterialPageRoute는 화면전환이 일어날 때 각 플랫폼에 적절한 애니메이션을 적용해줍니다.
3. 첫 번째 Route로 돌아오기
onPressed: () {
  Navigator.pop(context);
}
pop() 메소드는 Route를 Route 스택에서 제거합니다.