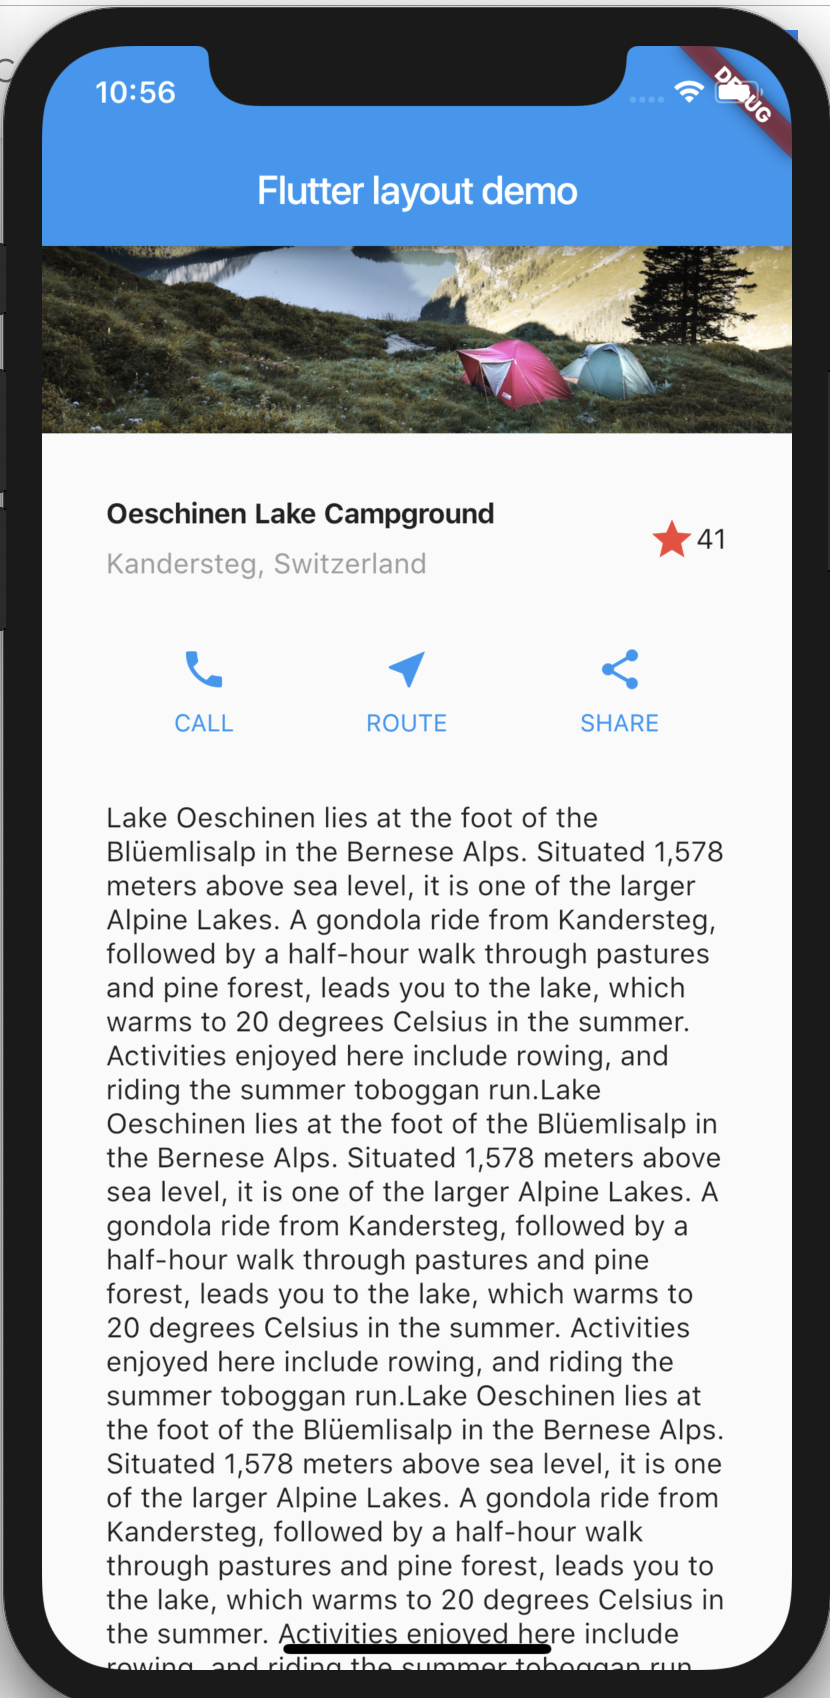
Flutter로 개발하기(03) - 레이아웃 튜토리얼
Layout tutorial
https://flutter.dev/docs/development/ui/layout/tutorial
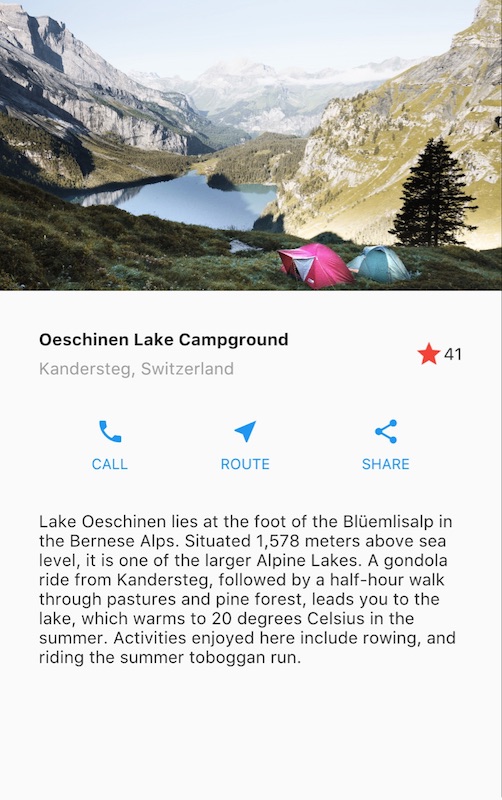
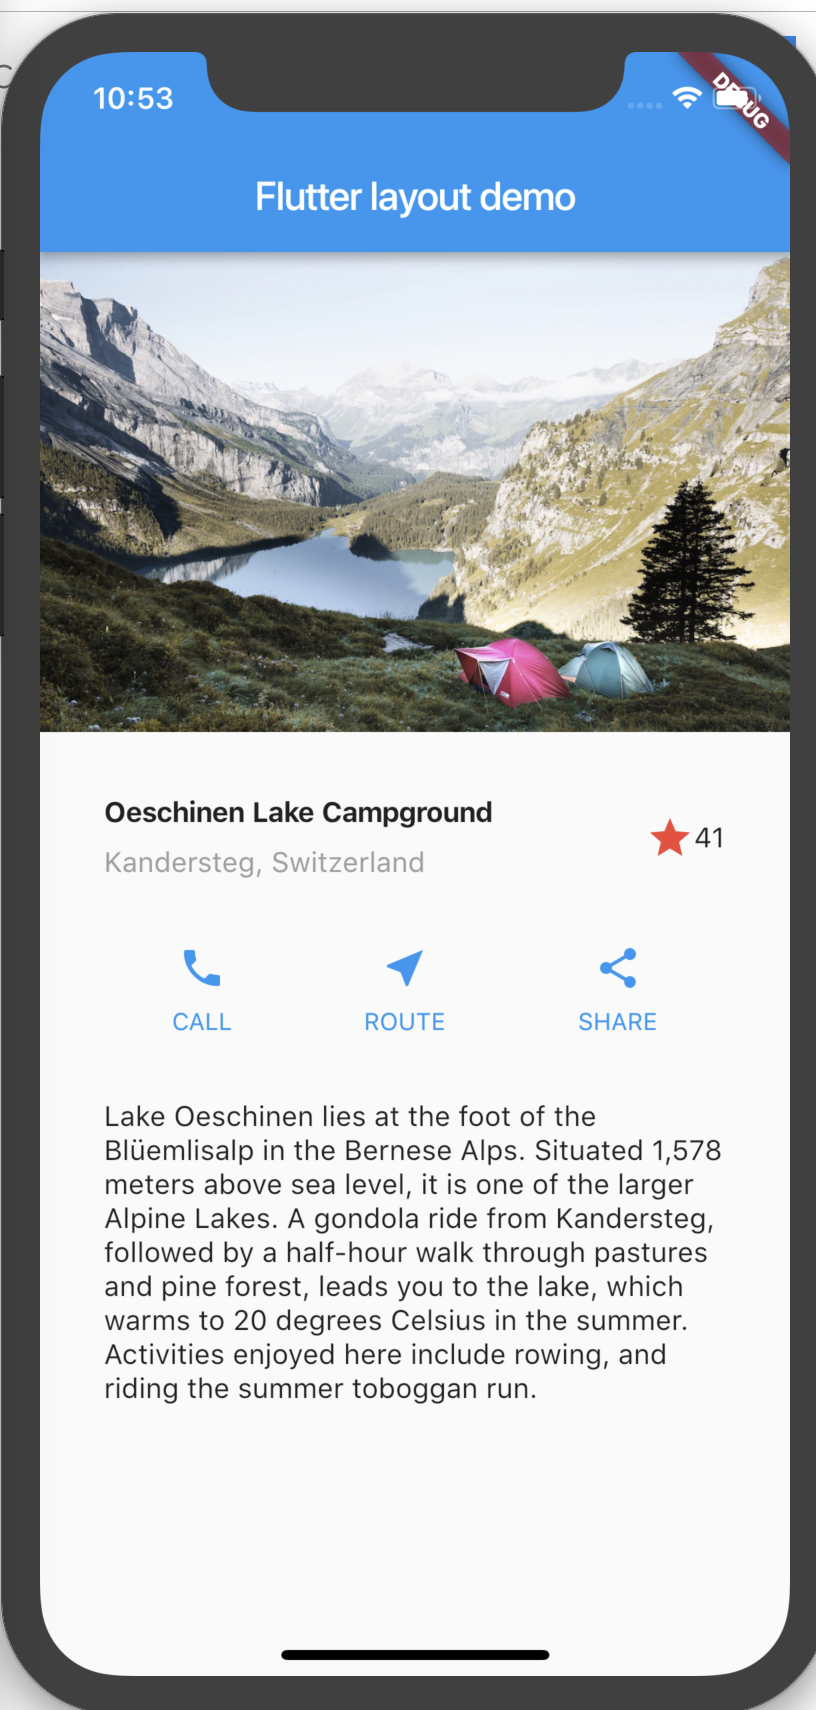
이 가이드에서는 아래 보이는 앱을 만들면서 레이아웃을 짜는 법을 배워봅니다.
Step 0: 앱 베이스코드 만들기
플러터 어플리케이션 프로젝트를 만들고 다음과 같이 코드를 수정합니다.
import 'package:flutter/material.dart';

void main() => runApp(MyApp());

class MyApp extends StatelessWidget {
  @override
  Widget build(BuildContext context) {
    return MaterialApp(
      title: 'Flutter layout demo',
      home: Scaffold(
        appBar: AppBar(
          title: Text('Flutter layout demo'),
        ),
        body: Center(
          child: Text('Hello World'),
        ),
      ),
    );
  }
}
Step 1: 레이아웃 그려보기
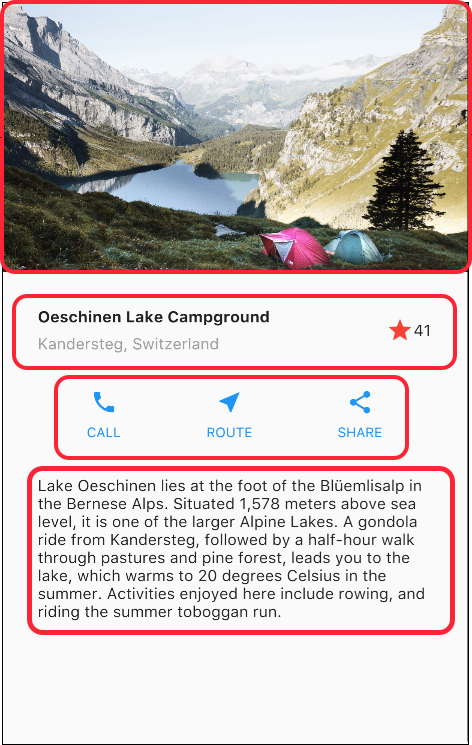
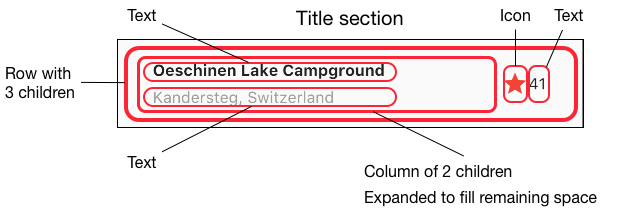
타이틀 섹션
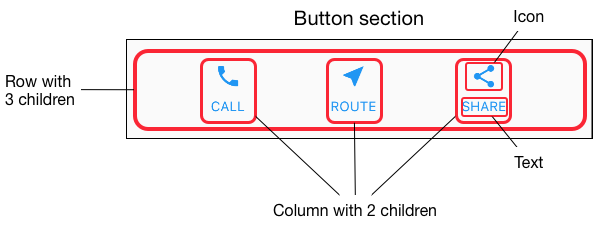
버튼 섹션
작은 부분부터 bottom-up 방식으로 레이아웃을 그려보면 레아아웃 중첩을 어떻게 코딩해야 할지 감을 잡을 수 있습니다.
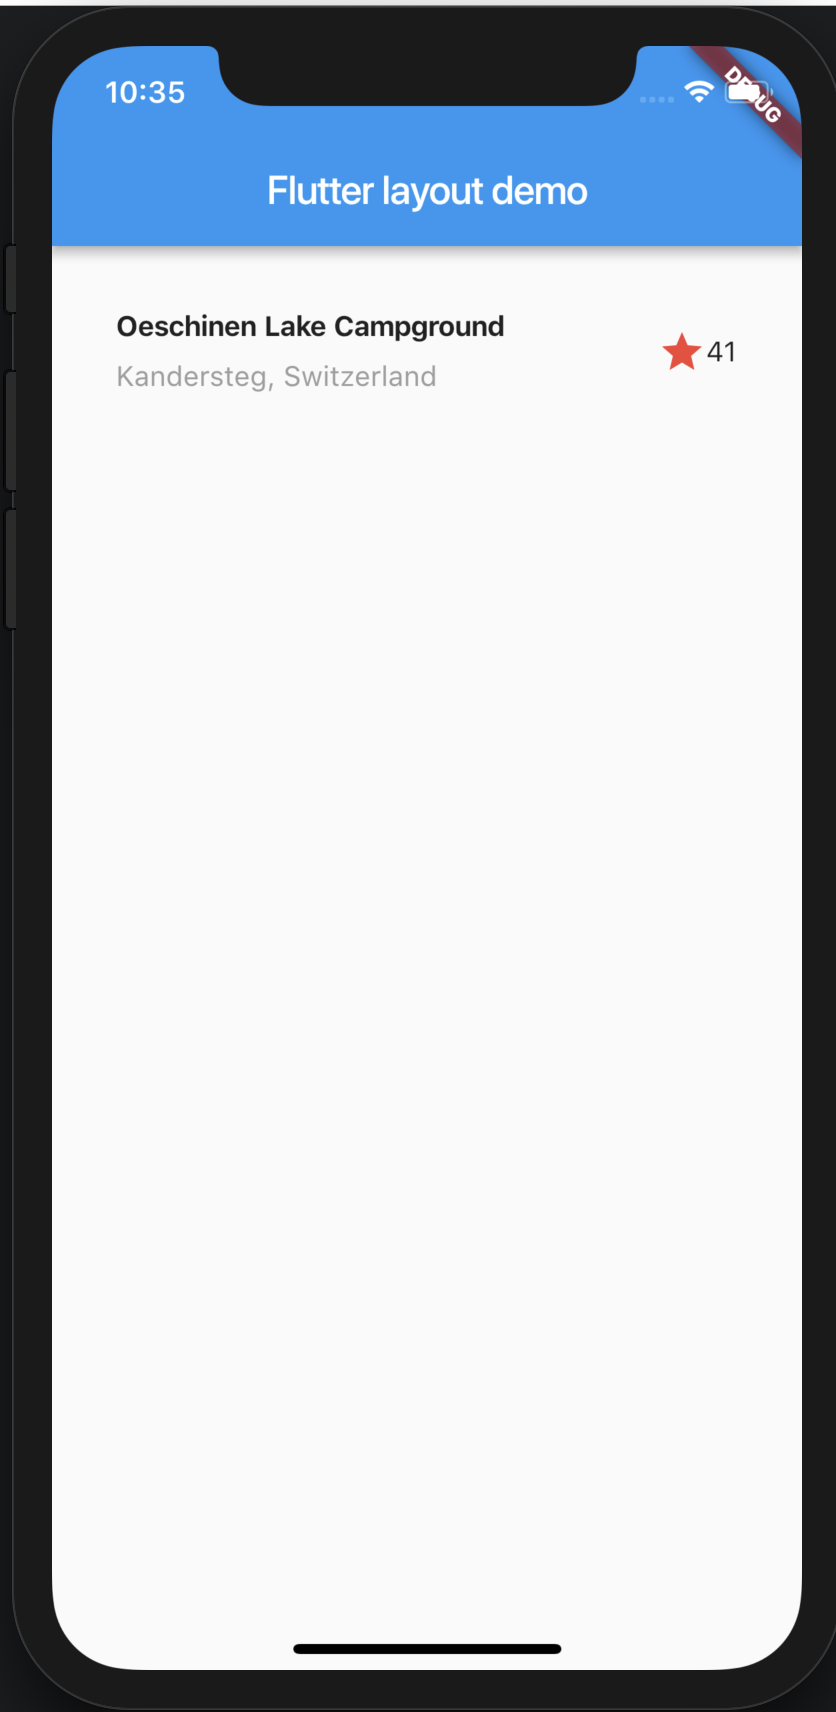
Step 2: 타이틀 섹션 구현하기
build() 메소드 안에 다음 코드를 삽입합니다.
Widget titleSection = Container(
  padding: const EdgeInsets.all(32),
  child: Row(
    children: [
      Expanded(
        /*1*/
        child: Column(
          crossAxisAlignment: CrossAxisAlignment.start,
          children: [
            /*2*/
            Container(
              padding: const EdgeInsets.only(bottom: 8),
              child: Text(
                'Oeschinen Lake Campground',
                style: TextStyle(
                  fontWeight: FontWeight.bold,
                ),
              ),
            ),
            Text(
              'Kandersteg, Switzerland',
              style: TextStyle(
                color: Colors.grey[500],
              ),
            ),
          ],
        ),
      ),
      /*3*/
      Icon(
        Icons.star,
        color: Colors.red[500],
      ),
      Text('41'),
    ],
  ),
);
그리고 다음과 같이 수정합니다.
return MaterialApp(
      title: 'Flutter layout demo',
      home: Scaffold(
          appBar: AppBar(
            title: Text('Flutter layout demo'),
          ),
//        body: Center(
//          child: Text('Hello World'),
//        ),
          body: Column(
            children: <Widget>[
              titleSection,
            ],
          )),
    );
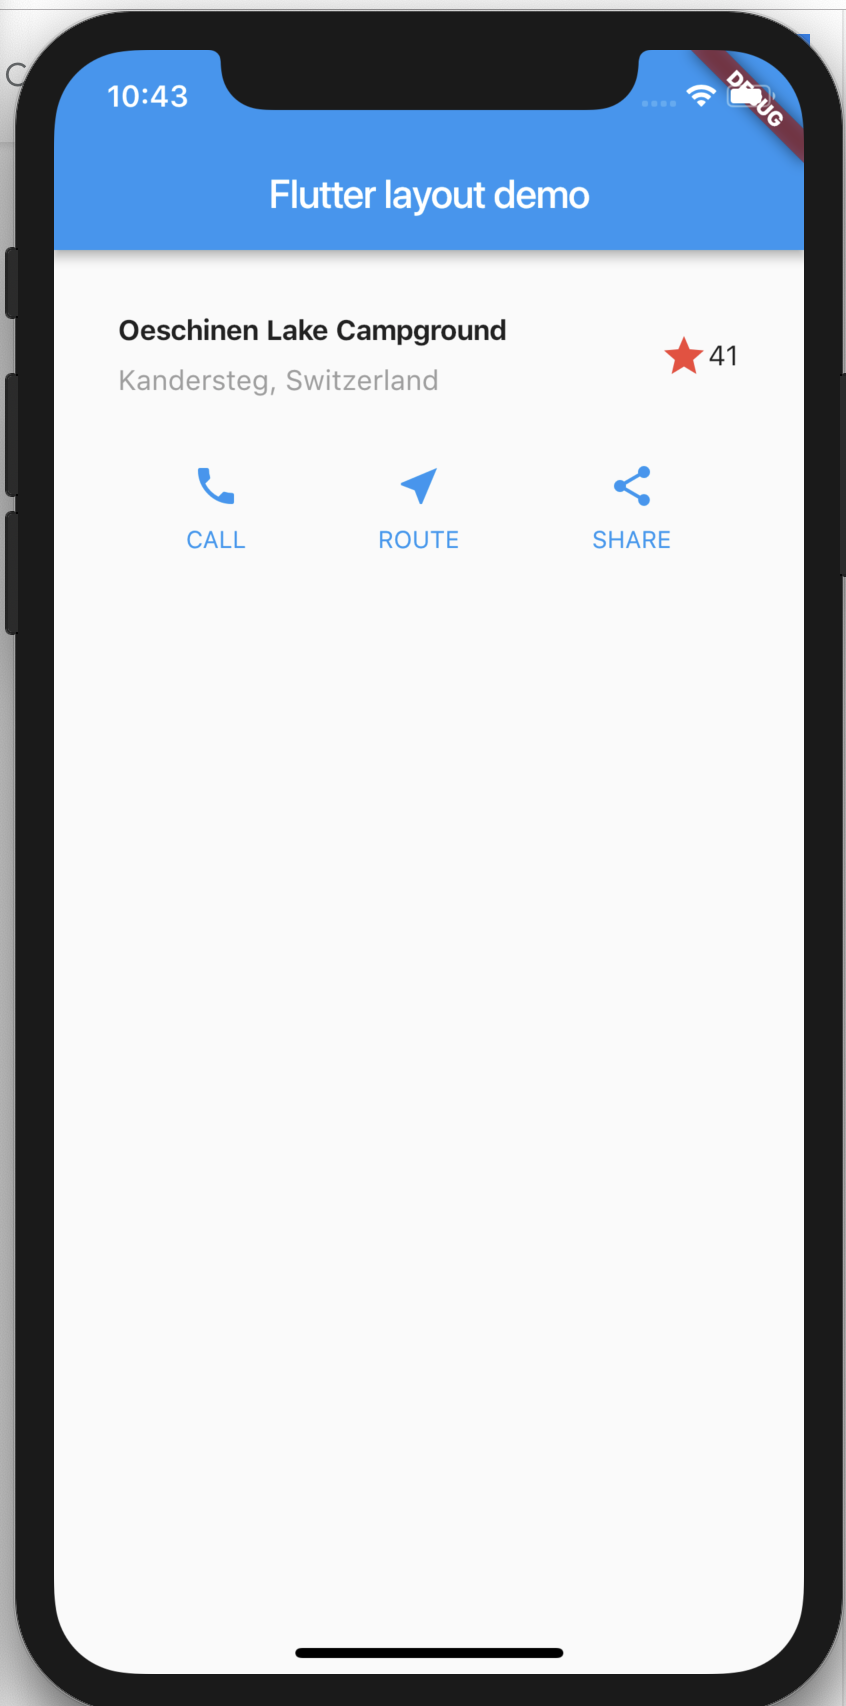
Step 3: 버튼 섹션 구현하기
버튼 섹션은 같은 레이아웃을 쓰는 3개의 Column으로 구성됩니다. 같은 레이아웃에 다른 내용을 보여주는 Column들을 만들어주는 _buildButtonColumn() 코드를 build() 메소드 아래에 삽입합니다.
class MyApp extends StatelessWidget {
  @override
  Widget build(BuildContext context) {
    // ···
  }

  Column _buildButtonColumn(Color color, IconData icon, String label) {
    return Column(
      mainAxisSize: MainAxisSize.min,
      mainAxisAlignment: MainAxisAlignment.center,
      children: [
        Icon(icon, color: color),
        Container(
          margin: const EdgeInsets.only(top: 8),
          child: Text(
            label,
            style: TextStyle(
              fontSize: 12,
              fontWeight: FontWeight.w400,
              color: color,
            ),
          ),
        ),
      ],
    );
  }
}
그리고 titleSection 코드 아래에 buttonSection 코드를 삽입합니다.
Color color = Theme.of(context).primaryColor;

Widget buttonSection = Container(
  child: Row(
    mainAxisAlignment: MainAxisAlignment.spaceEvenly,
    children: [
      _buildButtonColumn(color, Icons.call, 'CALL'),
      _buildButtonColumn(color, Icons.near_me, 'ROUTE'),
      _buildButtonColumn(color, Icons.share, 'SHARE'),
    ],
  ),
);
그리고 buttonSection을 body에 추가합니다.
return MaterialApp(
      title: 'Flutter layout demo',
      home: Scaffold(
          appBar: AppBar(
            title: Text('Flutter layout demo'),
          ),
          body: Column(
            children: <Widget>[
              titleSection,
              buttonSection,
            ],
          )),
    );
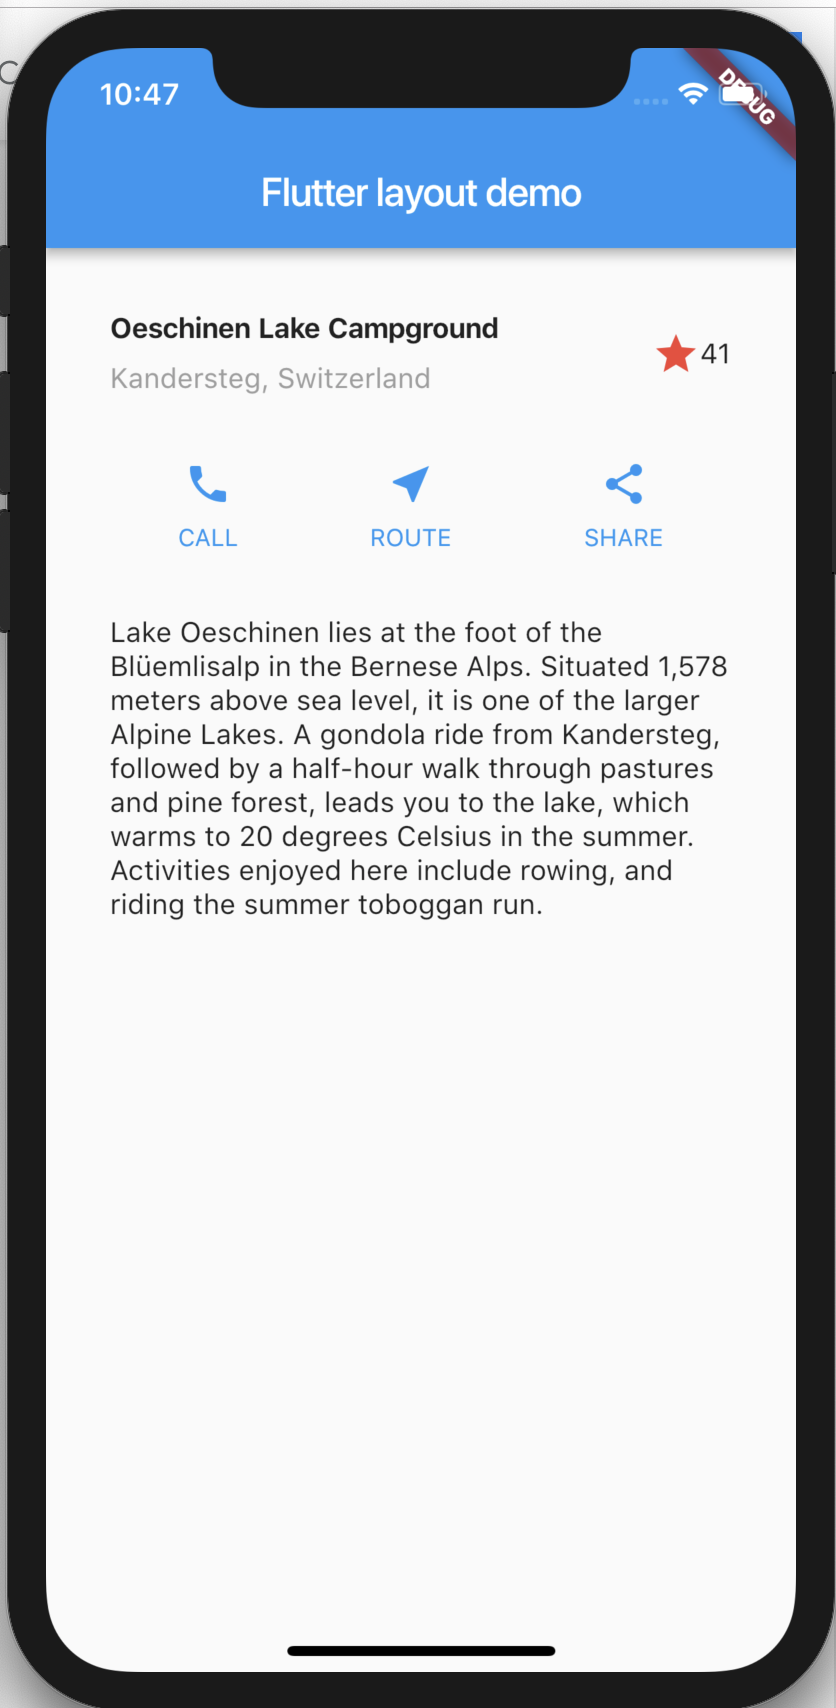
Step 4: 텍스트 섹션 구현하기
buttonSection 코드 아래에 titleSection 코드를 삽입합니다.
Widget textSection = Container(
  padding: const EdgeInsets.all(32),
  child: Text(
    'Lake Oeschinen lies at the foot of the Blüemlisalp in the Bernese '
        'Alps. Situated 1,578 meters above sea level, it is one of the '
        'larger Alpine Lakes. A gondola ride from Kandersteg, followed by a '
        'half-hour walk through pastures and pine forest, leads you to the '
        'lake, which warms to 20 degrees Celsius in the summer. Activities '
        'enjoyed here include rowing, and riding the summer toboggan run.',
    softWrap: true,
  ),
);
그리고 titleSection을 body에 추가합니다.
return MaterialApp(
      title: 'Flutter layout demo',
      home: Scaffold(
          appBar: AppBar(
            title: Text('Flutter layout demo'),
          ),
          body: Column(
            children: <Widget>[
              titleSection,
              buttonSection,
              textSection,
            ],
          )),
    );
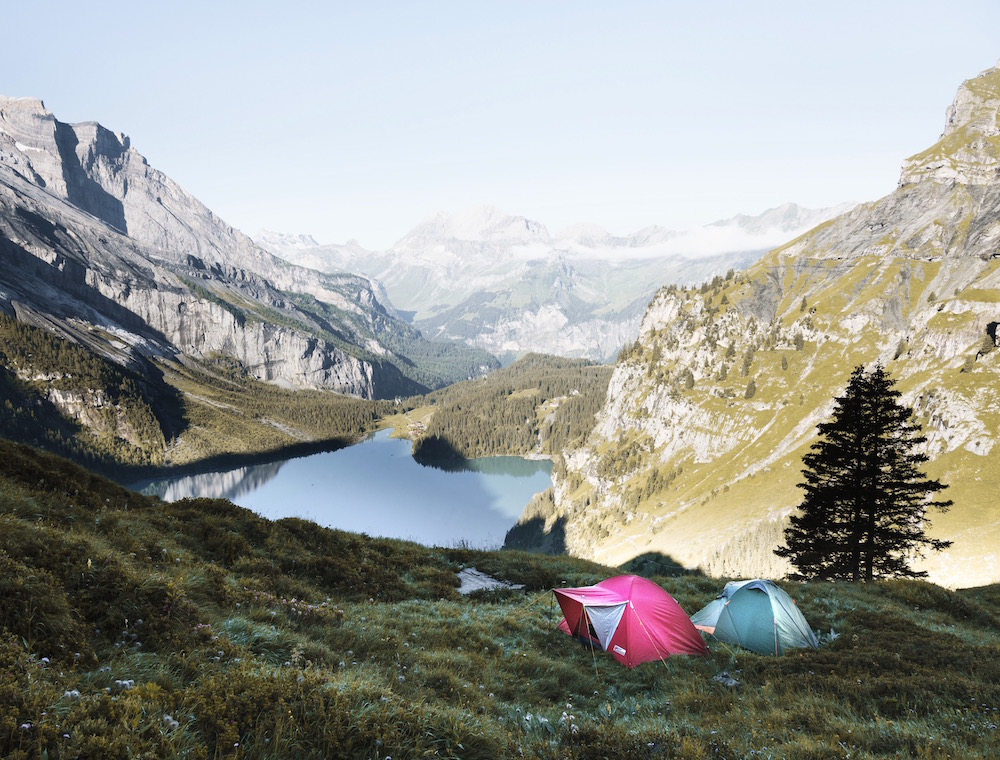
Step 5: 이미지 섹션 구현하기
- 프로젝트 최상위 위치에 images 디렉토리를 만들고, 그 안에 lake.png를 넣습니다.
- pubspec.yaml에 assets 태그를 추가합니다.
flutter:
  uses-material-design: true
  assets:
    - images/lake.jpg
이제 body에 이미지를 추가합니다.
return MaterialApp(
      title: 'Flutter layout demo',
      home: Scaffold(
          appBar: AppBar(
            title: Text('Flutter layout demo'),
          ),
          body: Column(
            children: <Widget>[
              Image.asset(
                'images/lake.jpg',
                width: 600,
                height: 240,
                fit: BoxFit.cover,
              ),
              titleSection,
              buttonSection,
              textSection,
            ],
          )),
    );
Step 5: 스크롤 처리하기
body가 길 때 스크롤 할 수 있도록 Column을 ListView로 바꿔줍니다.
return MaterialApp(
      title: 'Flutter layout demo',
      home: Scaffold(
          appBar: AppBar(
            title: Text('Flutter layout demo'),
          ),
          body: ListView(
            children: <Widget>[
              Image.asset(
                'images/lake.jpg',
                width: 600,
                height: 240,
                fit: BoxFit.cover,
              ),
              titleSection,
              buttonSection,
              textSection,
            ],
          )),
    );